
“As you’ve noticed, people don’t want to be sold. What people do want is news and information about the things they care about.” — Larry Weber
In previous blog we discussed Goal based personalization, in this blog we are going to achieve personalization using Sitecore Campaigns.
In a nutshell, Campaign is nothing but a promotion or marketing event which help drive your sales. It’s one of key way for marketers to reach out to potential customers.
It can be designed for new product launch, to engage new , existing , loyal customers or even an inactive customer which have purchased some product long time back.
Let say you are going to buy some product online. e.g. I search online shopping, we will get few initial results with “Ad” in it. Let’s open the link. You will see some weird set of characters in the URL. 

This is the unique tracking code to identify the campaign. There are several types/categories we can apply to campaigns. Such as (Ad , Email, Device based, App based, Print media, Social Campaign etc..) . These are nothing but various channels we are using to communicate with the brand.
Using campaigns, we can get more insights into customer’s interest and marketers can use this data to provide more relevant products, services and special offers to the customers.
How to Create a Campaign in Sitecore
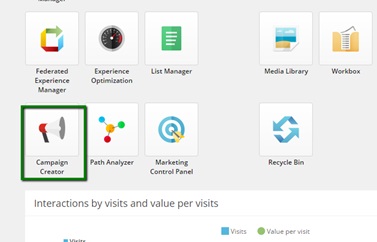
Go to Sitecore Launchpad and click on Campaign Creator.
Campaign Dashboard will be displayed as below.

Click on Campaign Activity, Campaign activity window will be shown

There are lot of properties we can specify for the Campaign, such as Start and End date, Facets, Channels etc. Enter the details as per the your Campaign purpose and click on Save. Your Campaign will be saved and new campaign tracking code is generated. Scroll to the bottom to see the campaign tracking code.

How to Assign Campaign to Sitecore Item
Go Sitecore Launchpad. Click on Experience Editor.
Site will be displayed in experience editor mode. Click on Optimize Menu.

Click on Attributes and select Campaign you wish to associate.

Personalization
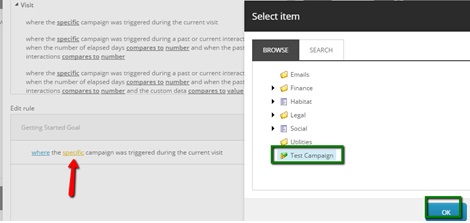
Go to Experience Editor. Repeat Steps 1 and 2 in Goal based Personalization. Search Rules using Campaign and Select the rule as shown below.

Click on “Specific” and Select “Test Campaign” and click Ok.
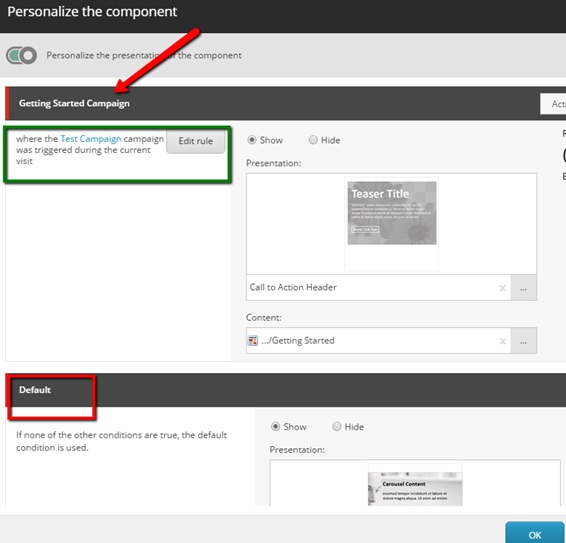
Final Campaign Based Personalization Configuration should look like as below
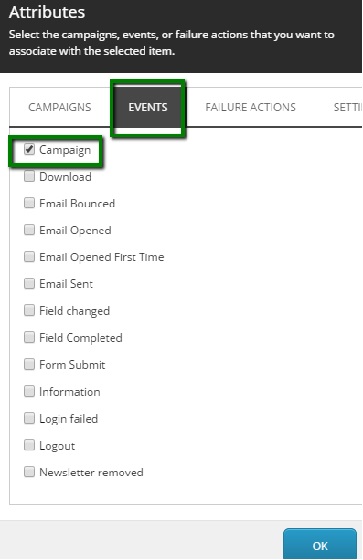
Click on Optimization Ribbon. Click on Attributes, Click on Events Tab and Select Campaign and click OK.
Save the changes and Publish the item.
Open a browser using “incognito mode” (in case if you are using Chrome) visit home page with your Campaign tracking code as query string parameter as below

Opening browser in “incognito mode” is very important as this ensure we are using clean session.
Reference : https://sitecore.stackexchange.com/questions/5981/personalization-using-a-campaign-not-working

